
Many patients wonder: what does a dental implant look like before the crown? Understanding the stages helps set realistic expectations. Your smile changes step by step before the final, tooth-like prosthesis is attached.
A dental implant is not one single piece. It is a three-part system: the implant post, the abutment, and the final crown. The answer depends on which phase of healing you are in. It also depends on whether your case follows a traditional staged protocol or a faster, immediate load implants same day teeth approach.
Phase 1: The Submerged Stage (The Screw in the Bone)
Right after surgery, the implant is entirely hidden from sight. At this stage, it resembles a small, threaded metal cylinder, essentially a high-tech screw. It is usually made of biocompatible titanium. This post sits inside the jawbone, in the socket where the natural tooth root used to be.
From the outside, you won't see any metal at all. The dentist places a flat healing cap or cover screw flush with the top of the implant. The gum tissue is then sutured completely over it. Your mouth will simply show a gap with a neatly stitched, healing gum line. Underneath, the titanium screw spends three to six months fusing with the living bone, through a process called osseointegration.
Photos at this stage are often the clearest answer to what a dental implant looks like before the crown. There is no metal and no tooth shape, just a quiet healing site.
Phase 2: The Emergence Stage (The Healing Abutment)
Once osseointegration succeeds, the implant is exposed to the mouth. Your dentist performs a minor procedure to uncover the top of the post. A healing abutment is then attached. This is the point where the picture changes for the first time, moving from a hidden screw to a small metal dome.
During this phase, you will see a small, round metal nub through the gum surface. It looks like a tiny silver button sitting flush with, or just above, the gum tissue. It does not look like a tooth. It does not fill the gap left by the missing tooth. Its job is to guide the gum tissue to heal smoothly around it, framing the eventual crown.
For most patients, this is the true image: a small metal dome, not yet a tooth.
Phase 3: The Restorative Stage (The Final Abutment)
Just before the final crown is made, the healing abutment is removed. It is replaced by the definitive prosthetic abutment. This piece looks like a small metal post or peg jutting upward into the gap. It resembles a miniature, tapered tooth stump.
It provides the structure over which the final ceramic or zirconia crown is cemented or screwed into place. By this stage, the answer has shifted from a metal button to a small metal tooth stump. This signals that the final restoration is close.
Immediate Load Implants ("Same-Day Teeth"): Bypassing the Bare Metal Phase
Not every patient goes through this full three-phase timeline. A technique called immediate load implants same day teeth attaches a temporary crown on the very day of surgery, sometimes within hours. The patient never sees the bare metal healing abutment stage, because a provisional tooth sits on the implant from day one.
This temporary crown is not the final restoration. It is a lighter, provisional piece that protects the surgical site and restores appearance and basic function. Meanwhile, osseointegration continues quietly underneath. For same-day patients, this approach skips the visible bare-abutment stage. The biological healing behind it, however, is not skipped at all.
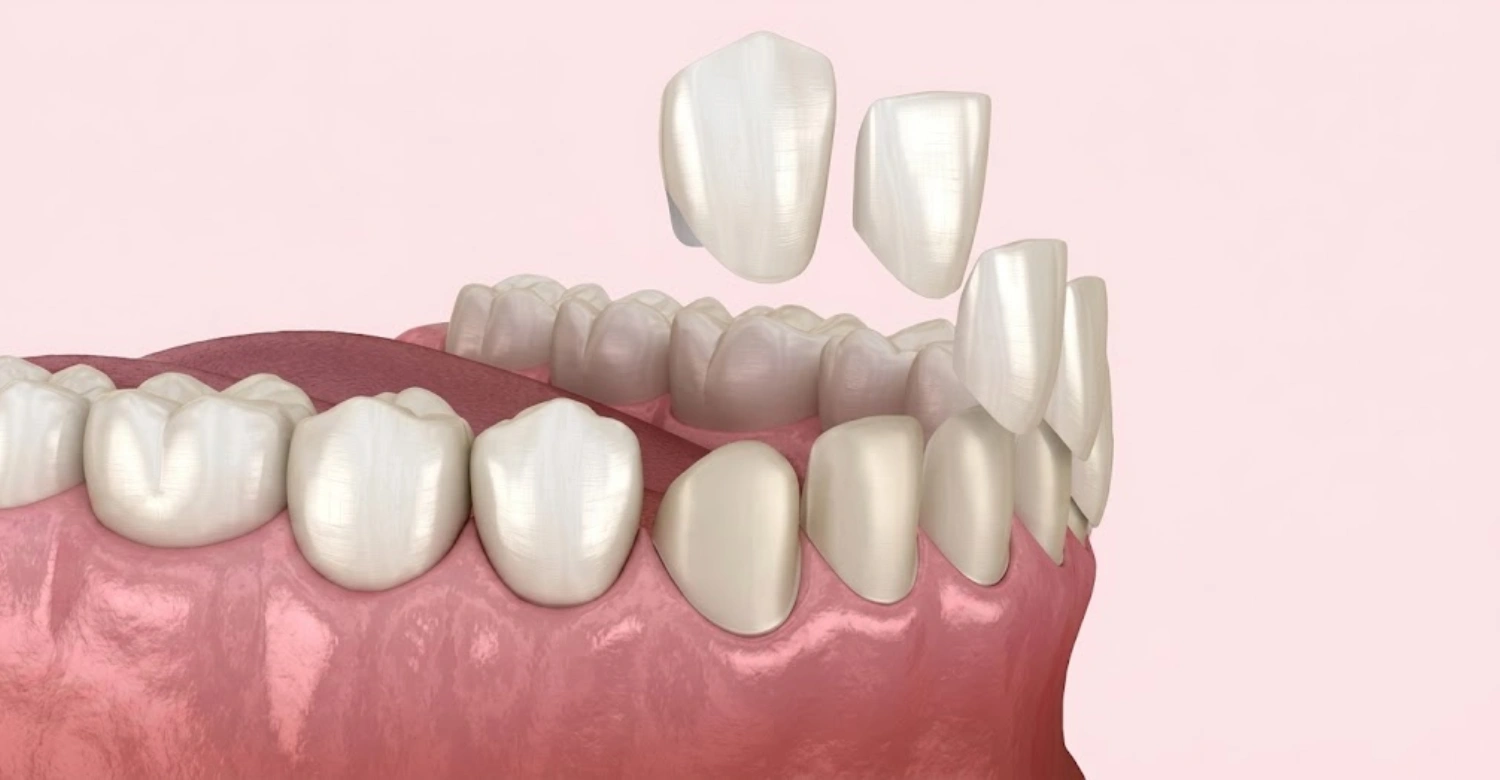
How Immediate Placement Differs from Traditional Multi-Stage Healing
In the traditional approach from Phases 1 through 3, the implant heals undisturbed. It is first fully submerged, then exposed with a healing abutment, before any crown is added. Immediate load protocols compress this visible timeline. The underlying biology does not change, since the post still needs months to fuse with the jawbone.
Candidacy depends on strict clinical criteria. These include enough bone density, high implant stability at placement, and no active infection. Patients who don't meet these criteria go through the traditional staged process instead. A full bite load on an implant that lacks stability raises the risk of micro-movement and failure.
Tips for the Patients
Ask your dentist whether your bone quality and stability readings qualify you for same-day teeth, or whether staged healing is safer.
Treat a same-day provisional crown gently, since the implant beneath it is still in its most vulnerable healing window.
Attend every follow-up appointment, since stability is reassessed over time and not assumed at the start.
Why Isn't the Crown Placed Immediately?
For patients who aren't candidates for immediate loading, waiting weeks or months can feel counterintuitive. The reason is a simple engineering one: a crown cemented onto an implant that hasn't fully fused to bone sits on a foundation that can still shift.
Osseointegration Timelines and Structural Stability Requirements
Osseointegration is the process where living bone cells grow onto the surface of the titanium implant. It is not instant. Depending on bone density, jaw location, and healing capacity, this generally takes three to six months. It can take longer with bone grafting.
During this window, the implant is more prone to micro-movement under chewing force. A rigid crown placed too early can transmit that force to the healing bone-implant interface. This disrupts the delicate bond still forming, even when the gum looks fully healed on the outside.
Clinical Note
Stability isn't judged by calendar time alone. Before the crown stage, the implant team confirms readiness through clinical assessment. Stability testing is used where indicated, rather than relying only on weeks passed since surgery.
Pre-Crown Aftercare Protocol: Caring for Your Bare Implant and Abutment
Between placement and the final crown, the exposed abutment needs deliberate care. Caring for a bare implant before the crown differs from caring for a natural tooth. Getting it right supports both comfort and the gum tissue that will frame the finished restoration.
Safe Cleaning Techniques Around the Healing Abutment
Cleaning starts with gentle, consistent care rather than avoidance. Use a soft-bristled or post-surgical brush. Clean gently around the abutment in small circular motions, not scrubbing. Follow with an antimicrobial or saline rinse as your dentist recommends.
Interdental brushes or implant-specific floss, made to slide around a single abutment, help clear debris without lateral pressure. Avoid vigorous rinsing, spitting, or straw use in the first days after any surgical uncovering step.
Tips for the Patients
Set a gentle daily cleaning routine around the abutment instead of avoiding the area, since undisturbed plaque irritates gum tissue more than careful brushing does.
If brushing causes ongoing discomfort or bleeding past the first week, check in with your dentist.
Dietary Guidelines While Waiting for the Final Crown
An exposed metal component sits where the tooth used to be, so eating habits need to adapt too. Eating with an implant abutment, whether healing or provisional, calls for practical adjustments while the site matures.
Favor soft, non-sticky foods like soups, eggs, fish, cooked vegetables, and dairy right after any surgical step. Avoid hard, crunchy, or sticky foods like nuts, ice, hard candy, or chewing gum near the implant site. Wait until your dentist confirms the site can handle normal bite force.
Cut food into smaller pieces and chew on the opposite side while a healing abutment is exposed. Keep very hot or spicy foods to a minimum early on, since they can irritate sensitive tissue. Eating safely is mostly about patience, not permanent restriction.
Tips for the Patients
Ask for a written list of safe and avoid foods for your healing stage, to remove the guesswork.
Reintroduce firmer foods gradually, only once your dentist confirms the site is ready.
When to Contact Your Dentist
Most patients move through the healing timeline without incident. Still, knowing which changes are normal and which warrant a call is part of responsible aftercare.
Managing Loose Abutments, Tissue Overgrowth, and Warning Signs of Failure
Troubleshooting starts with a key distinction. The healing abutment is removable, and your dentist can retighten or replace it. The implant post itself should never move. Mild looseness of a healing abutment is a simple fix at a routine visit, while a mobile implant post is a different, more urgent concern.
Gum tissue can grow over an abutment, especially if it sits close to the gumline or home cleaning has been inconsistent. This overgrowth makes the abutment harder to clean. It may need professional trimming before the final crown can be seated correctly.
Warning signs that need attention include: persistent pain that worsens, visible pus or foul odor, an implant post that feels mobile, ongoing swelling beyond the early post-surgical period, or a healing abutment that has come out completely. Any of these calls for prompt evaluation, not a wait-and-see approach.
Clinical Note
Mobility of the healing abutment alone is not implant failure. Still, any sense that the implant post itself is moving should be evaluated promptly, since it can signal a disruption in osseointegration.
Tips for the Patients
Don't try to tighten, remove, or adjust a loose abutment yourself. This is a simple in-office fix.
Photograph any visible changes between visits, so your dentist can track progress or catch early overgrowth.
When in doubt, call. Early intervention is far simpler than managing a complication that has had weeks to develop.
Treatment Planning and Financial Expectations
Planning this treatment means understanding both the healing timeline and the financial investment. Patients researching global clinics often look into high-volume dental tourism centers. This is often paired with questions about aftercare once treatment abroad is complete.
At Vitrin Clinic, a specialized facility known for hosting international patients, the average price for a standard titanium implant ranges from 500 to 900 USD, excluding complex bone grafting. This is highly competitive compared to Western countries, where a single implant post and abutment can cost 2,000 to 3,000 USD before the crown stage.
What Does a Dental Implant Look Like Before the Crown? How Vitrin Clinic Guides Patients
At Vitrin Clinic, the implant journey is planned as one continuous protocol, not a series of disconnected appointments. This spans the submerged healing screw, the healing abutment stage, and the final crown. The team emphasizes explaining what the mouth will look and feel like at every step, even when the site isn't yet cosmetically finished.
This extends to aftercare guidance between stages. Patients get clear instructions on caring for a bare implant, cleaning around a healing abutment, dietary adjustments, and which changes are normal versus which need a follow-up visit.
Every patient is walked through their exact phase, in plain language, with photos where useful. Nothing about the healing process feels unclear. The path to a restored smile relies on a progressive, multi-tiered foundation built for long-term stability and good aesthetics.
What We Notice Clinically
The team at Vitrin Clinic sees the same pattern across most implant cases. Patients who understand what to expect at each stage tend to heal more smoothly, with fewer surprises. "Patients often assume the healing abutment stage means something has gone wrong, when it's actually the implant doing exactly what it's supposed to do," says Dr. Rifat Alsaman, Head of the Medical Team at Vitrin Clinic and a cosmetic dentist. "Once we walk them through it, most of that anxiety disappears."
Dr. Alsaman also notes that patients who follow aftercare guidelines closely, especially around cleaning and diet, tend to reach the crown stage with healthier gum tissue. "The in-between period isn't just waiting," he adds. "It's an active part of treatment, and how a patient cares for the site during this window has a real effect on the final result."
Clinical Note
At Vitrin Clinic, no case moves to the crown stage on a fixed calendar date alone. Even with normal healing, the team confirms implant stability through clinical assessment first. Visual healing and structural readiness don't always align on the same timeline. This is also why the crown is not placed immediately in most standard cases.
Tips for the Patients
Ask the Vitrin Clinic team which phase you're in at every visit, so what you see matches what's happening with your implant.
Follow the aftercare instructions exactly, since small deviations in cleaning or diet can slow healing.
If anything changes unexpectedly, contact Vitrin Clinic promptly instead of waiting for your next visit.
References
Understanding this journey helps patients see that the visible implant stage is only part of the treatment. The titanium implant must first achieve stable osseointegration with the surrounding bone before it can support the final crown. Research highlights osseointegration as essential for implant stability and long-term success, and it emphasizes proper healing and careful planning.
https://pmc.ncbi.nlm.nih.gov/articles/PMC3602536/
https://pmc.ncbi.nlm.nih.gov/articles/PMC8643491/
https://pmc.ncbi.nlm.nih.gov/articles/PMC9781385/
FAQs

Dr. Rifat Alsaman has more than 5 years of clinical experience in dentistry and currently serves as the Head of the Medical Team at Vitrin Clinic. He is dedicated to providing exceptional patient care, overseeing treatment planning, and ensuring the highest clinical standards across the team. His expertise, attention to detail, and commitment to continuous professional development have helped countless patients achieve healthier, more confident smiles.


